


How much exercise should I do?
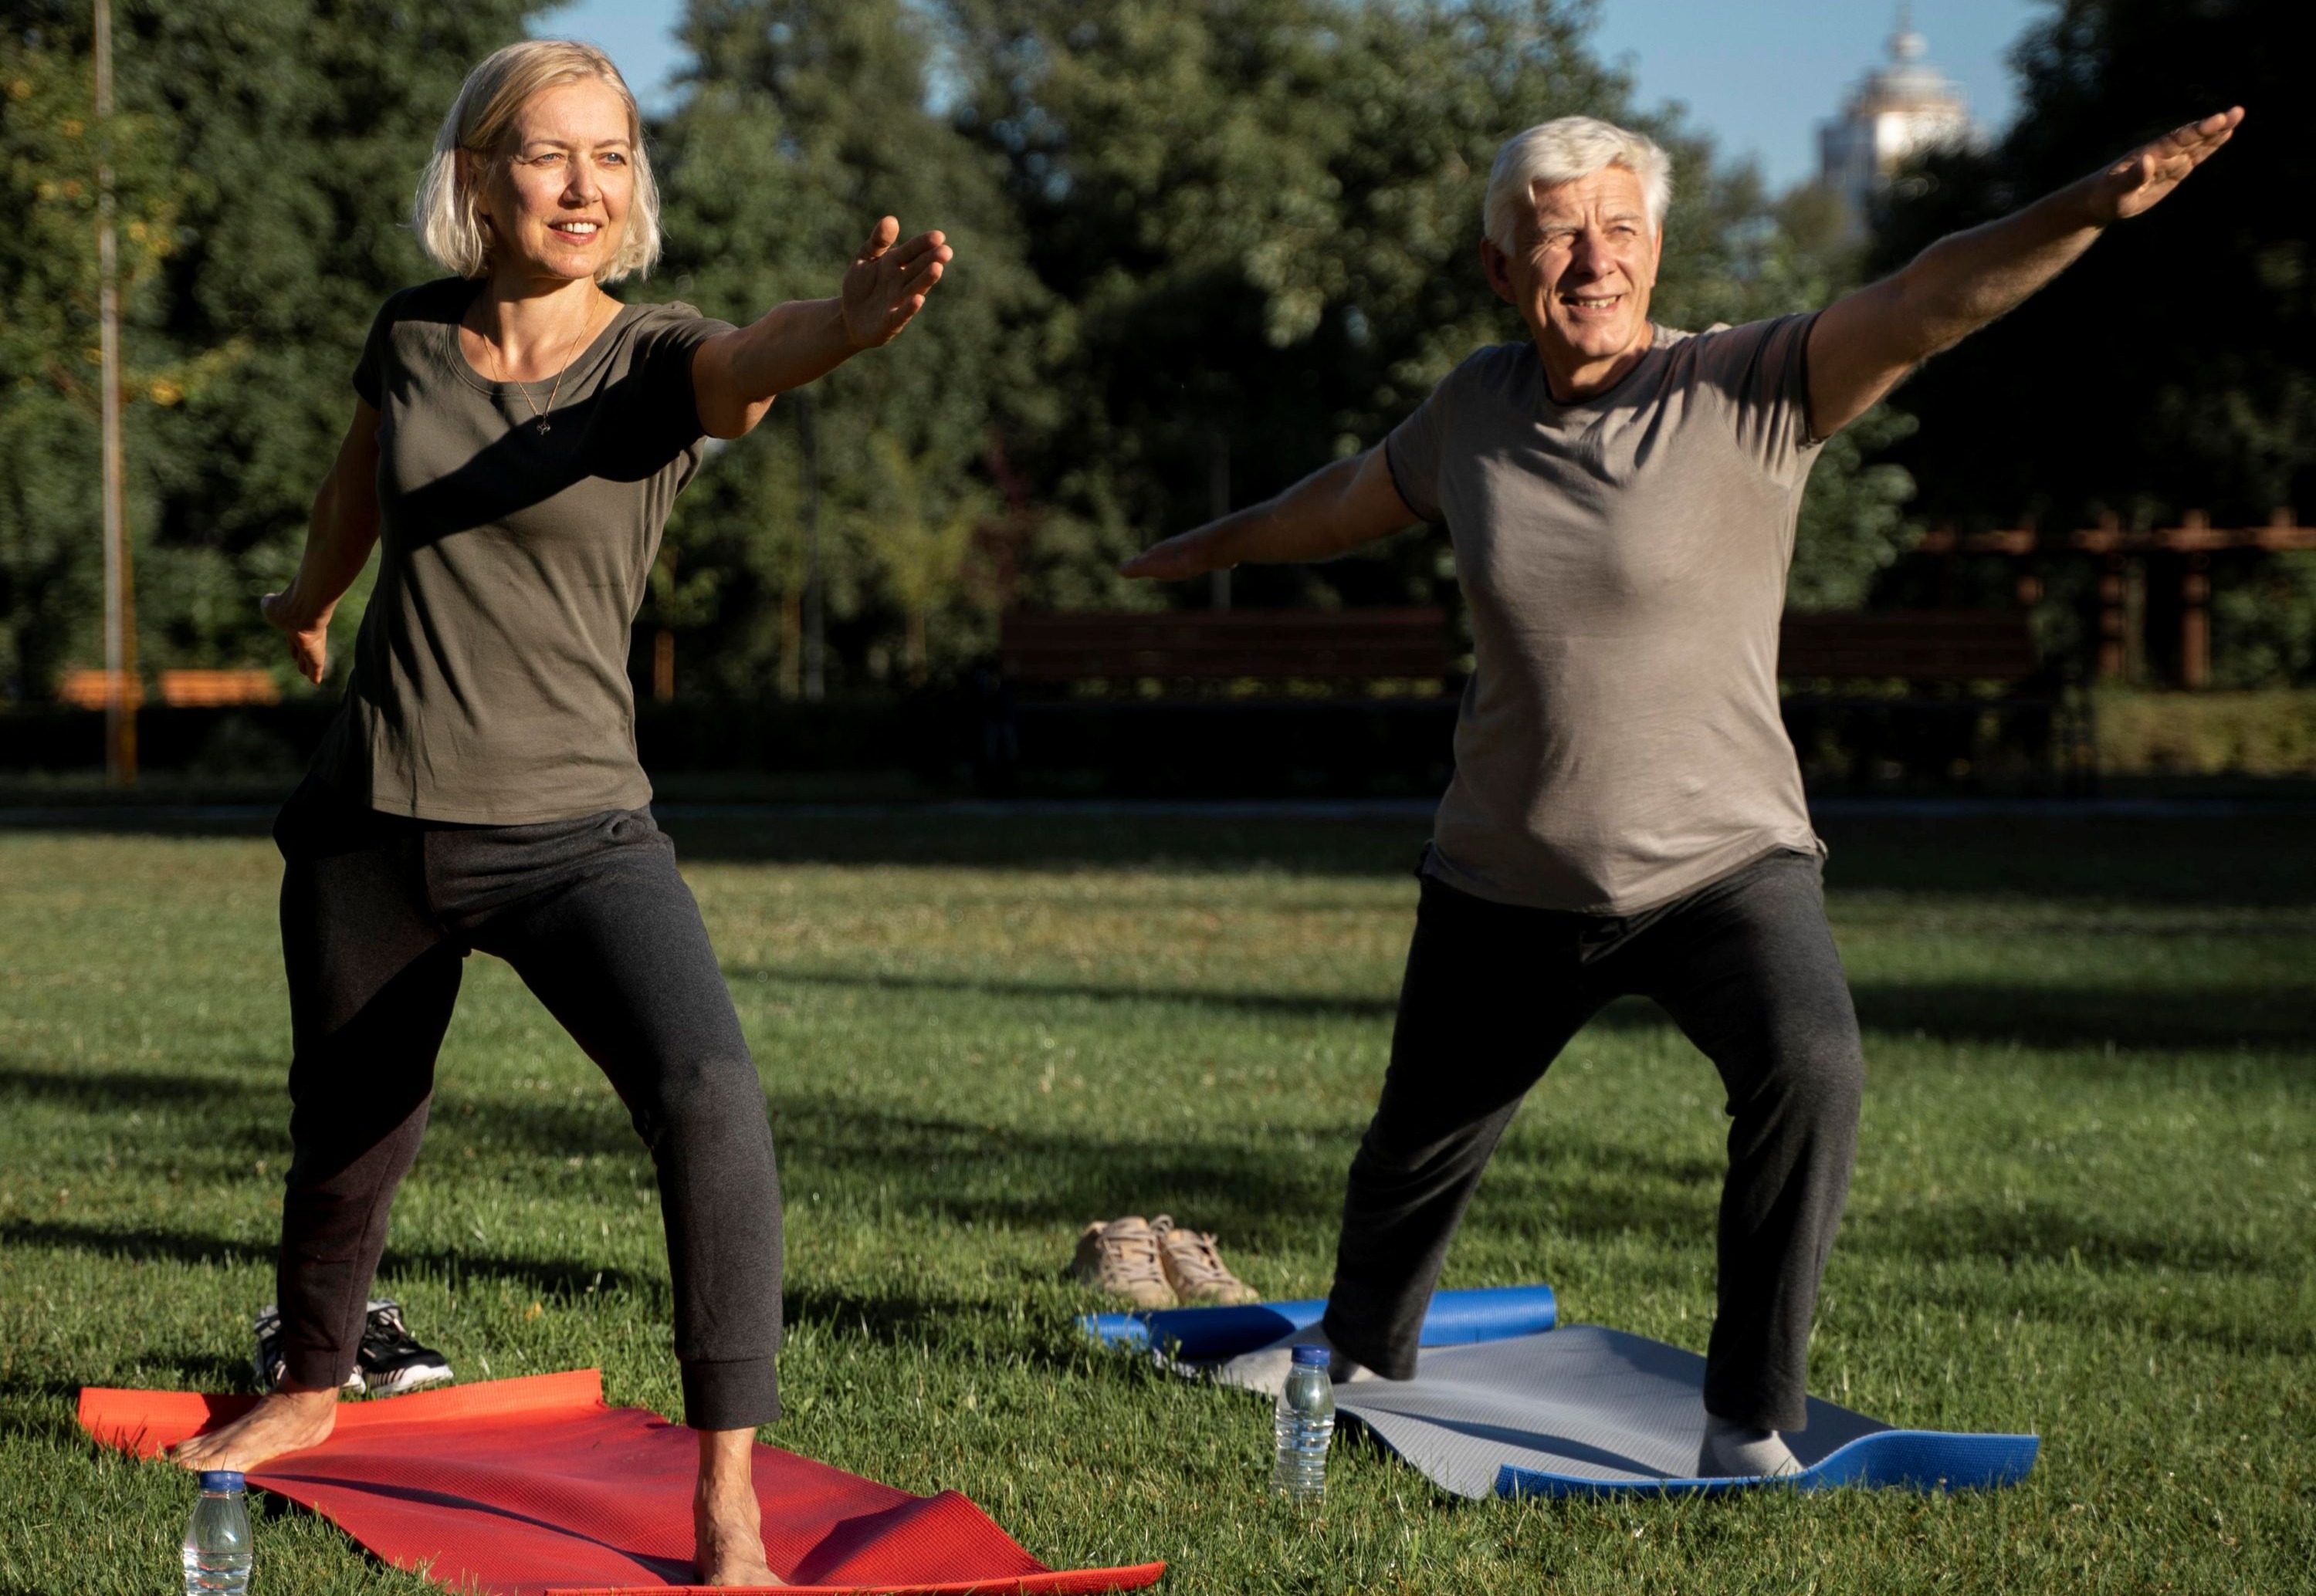
Exercise every other day
Allowing enough rest is important to let soft tissues recover and develop.

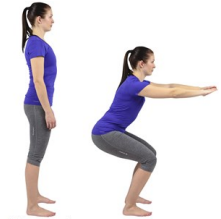
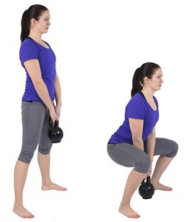
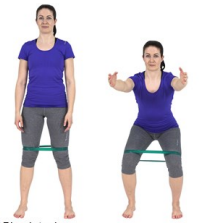
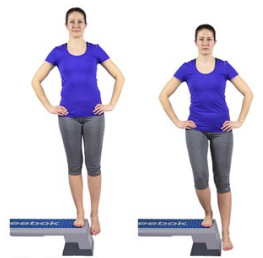
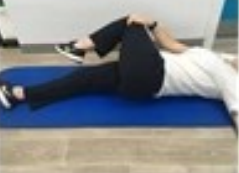
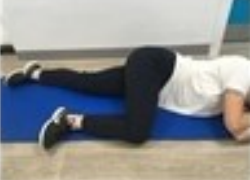
Choose 3 or 4 exercises
Choose exercises that are challenging but manageable.

Repeat the exercise
Perform 3 to 5 repetitions of each exercise.

Rest
Rest for up to 1 to 2 minutes between each set.

Once an exercise is easy, progress it
Increase the number of repetitions (you could aim to increase it by 2 to 5 repetitions every 2 weeks). Or hold the positions for longer or move to a more challenging exercise.

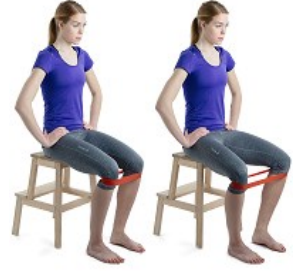
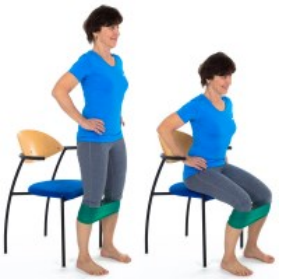
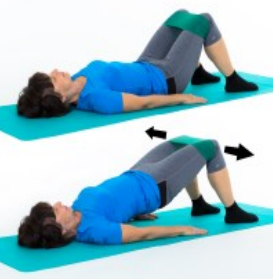
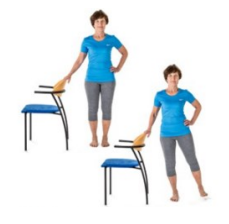
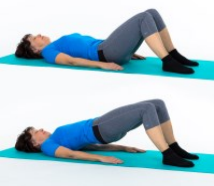
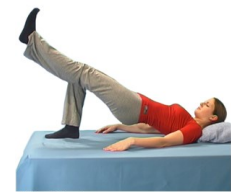
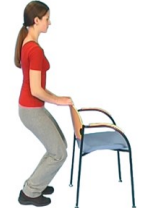
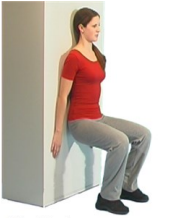
Exercises that target the strengthening of these muscles, together with avoiding stretches and provocative postures (in standing, lying or sitting) that place the tendons under compression have proven effective in improving symptoms within 8 to 10 weeks.